When disaster strikes, knowing how to call for help can make all the difference. Whether you’re lost in the wilderness, stranded at sea, or facing an urban emergency, being able to signal effectively could save your life.
Here are 10 essential emergency signals everyone should know — and practice before they ever need to use them.
1. SOS Signal
The SOS signal is the most widely recognized distress code in the world. Represented in Morse code as three short signals, three long ones, and three short again (··· ––– ···), it can be communicated using sound, light, or visual markers.
For example, you can flash a flashlight in the SOS pattern, bang on a surface, or spell out “SOS” on the ground using rocks, branches, or contrasting materials—especially effective for drawing attention from the air.
2. Signal Mirror

A signal mirror uses reflected sunlight to create intense flashes that can be seen from miles away. It’s especially effective in open areas and during daylight. To use one, angle the mirror to catch the sun, then aim the reflected beam toward your target—such as a plane or rescue team. Aiming can be practiced by flashing the reflection through a V-shape made with your fingers.
3. Whistle Blasts
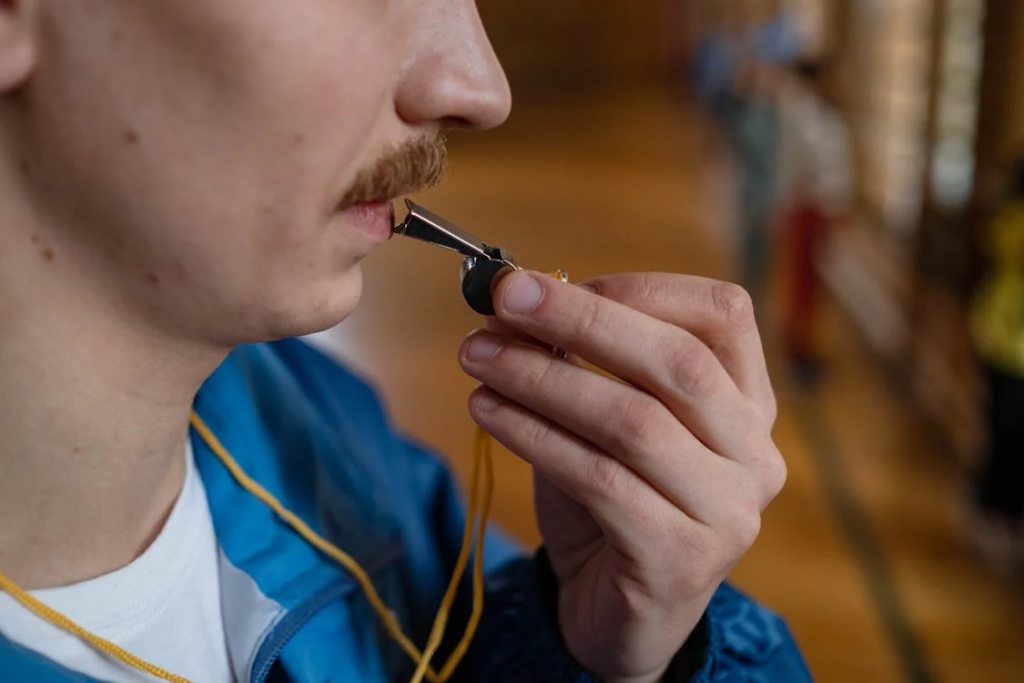
A whistle is a simple but powerful tool in an emergency. The international distress signal is three short blasts, each about three seconds long. Unlike shouting, a whistle carries farther and conserves your energy. It’s especially useful in the wilderness or noisy environments.
4. Ground-to-Air Symbols
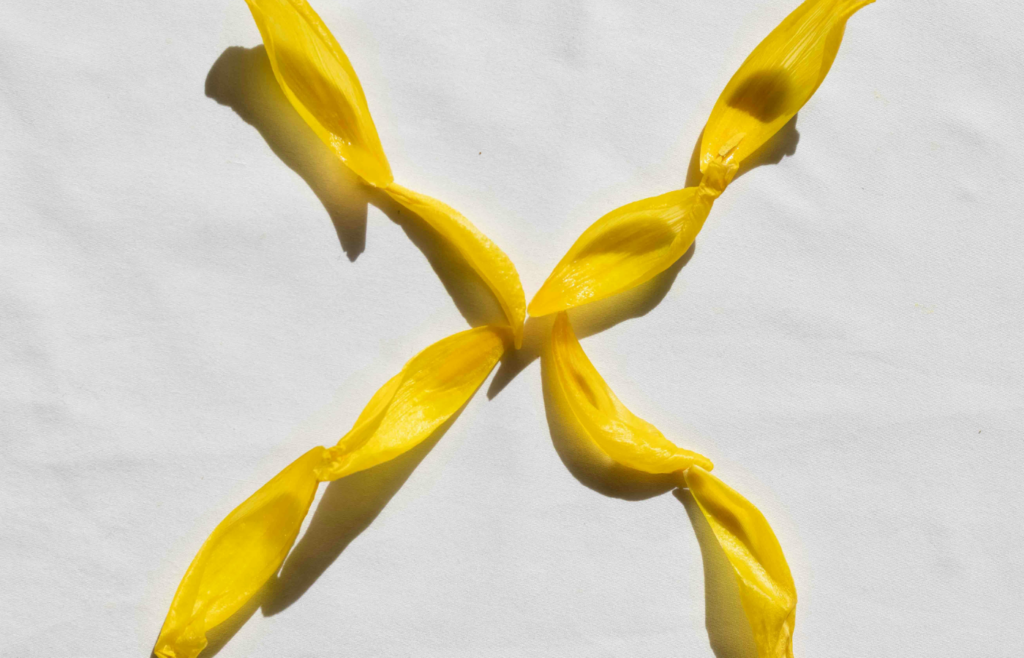
Creating large symbols on the ground can help signal aircraft during a rescue. An “X” means “I need help,” while an arrow shows the direction you’ve traveled. Use contrasting materials, and make sure each symbol is at least three meters long so it’s visible from the air.
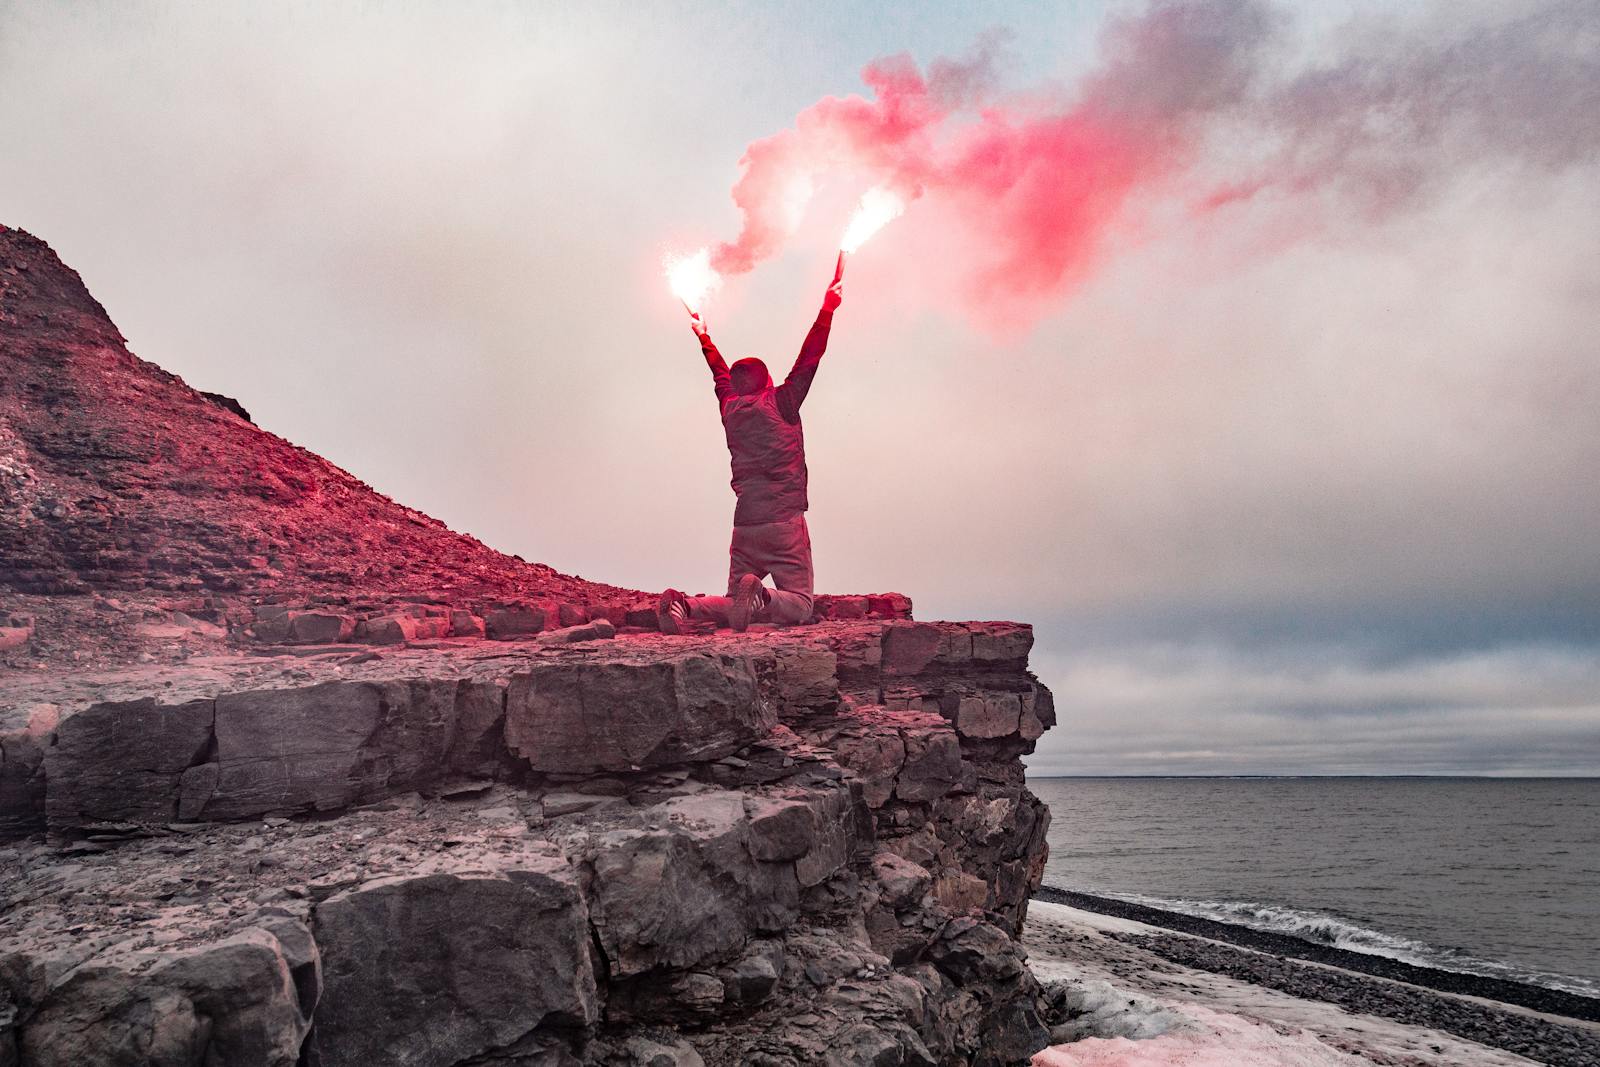
5. Emergency Flares

Flares are highly visible and effective, especially at night or in poor weather. Red hand-held flares are often used to signal distress, while aerial flares can be launched to higher altitudes for better visibility. Use them only when you’re ready to be seen—ideally when you hear or see rescuers nearby—and always follow safety instructions.
6. Smoke Signals
During the day, smoke can be an excellent way to draw attention. Create a fire and add green vegetation or damp leaves to produce thick, white smoke. The standard distress pattern is three smoke puffs spaced evenly apart. Be sure to monitor the fire carefully to avoid starting a wildfire.
7. Flashlight Signals

At night, a flashlight becomes an invaluable signaling tool. The basic distress pattern is three quick flashes, followed by a pause, then repeated. This pattern mimics the SOS rhythm and can help alert rescuers to your presence even in total darkness.
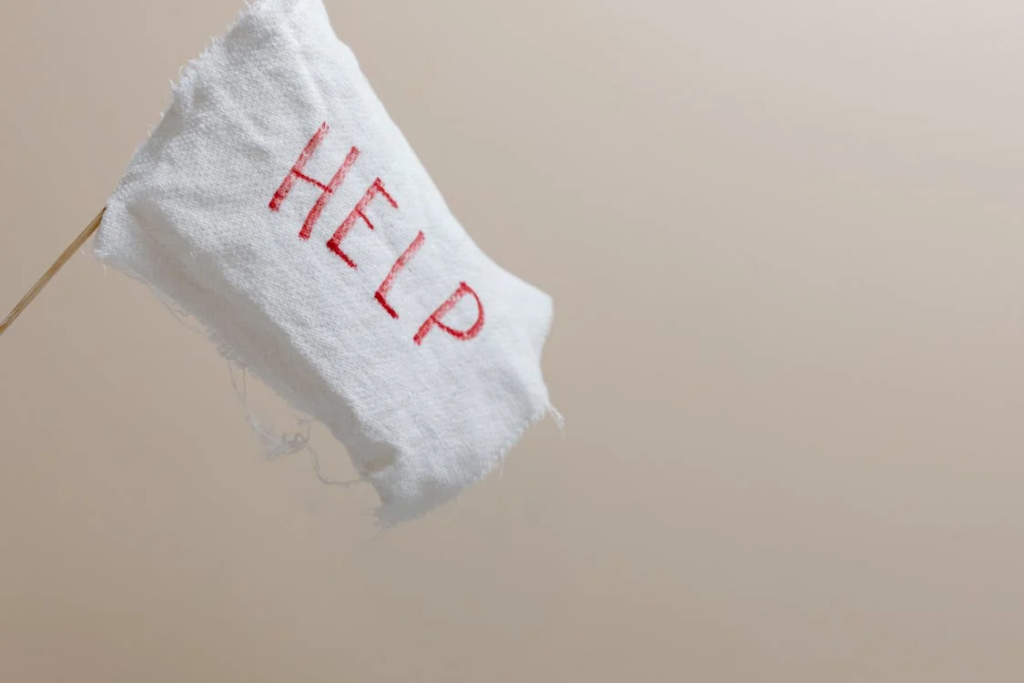
8. Audible Shouts

When no tools are available, your voice may be your only option. Yelling “HELP” repeatedly in groups of three can signal distress. While it may be physically draining and not effective over long distances, it can alert people nearby—especially in confined or quiet areas.
Read More: Top 10 Things to Do After a Major Storm Cuts You Off
9. Personal Locator Beacons (PLBs)

PLBs are compact, battery-powered devices that send your GPS location to emergency services via satellite when activated. They’re especially useful in remote areas with no cell signal. Make sure your PLB is registered and that you know how to use it before heading out on any trip. When activated, it sends a rescue alert to authorities—so only use it in serious emergencies.
Read More: Top 10 Things Preppers Practice That Most People Ignore
10. Arm Signals

If you spot a plane or helicopter overhead, your body can become your signal. Stand with both arms raised in a wide “Y” shape to indicate “Yes, I need help.” Alternatively, if help is not needed, stand with one arm raised and one arm down in an “N” shape to mean “No, I’m okay.” These visual cues are part of the international ground-to-air emergency code.
Read More: Top 10 Survival Gear Items That Are Surprisingly Affordable